The first LO I did with it was this one about Caroline's blue eyes.


And then the second LO so far is about Caroline's love for the Sea Doo. We all love it, but she's a little monster on it! "Faster! Faster Daddy!"

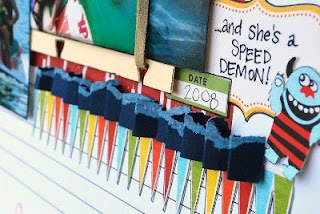


This LO has a TON of depth and dimension, and even though I've tried to show you with different angles, it still doesn't do it justice. The photos and journaling stickers are up on pop-dots, and the Core d'nations cardstock is torn, pleated, and glued in place (not sewn down). It was a lot of fun to play around with and design!
And I used this last layout as a part of my Technique Tuesday demonstration over on the UA boards.
Adding a vignette to your photos
Here's how I add a quick vignette to the edges of my photos without any type of photo-editing software.
First, you need some ink, a slick writer, and a photo.
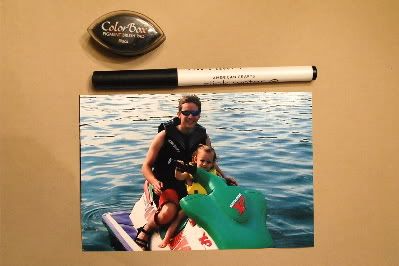
Ink all the edges of your photo, and on the corners apply more than on the straight edges. You also want to make the ink curve in the corners.
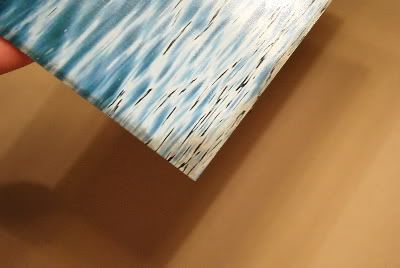
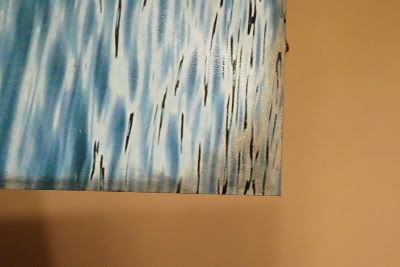
the inked photo:
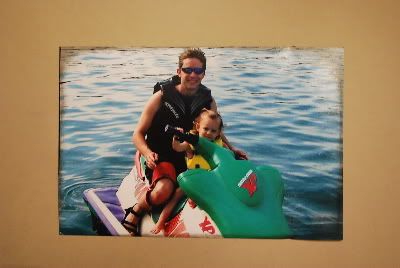
Next, go back with your Slick Writer (fine tip), and draw a line around your photo, again getting thicker and darker on the corners.
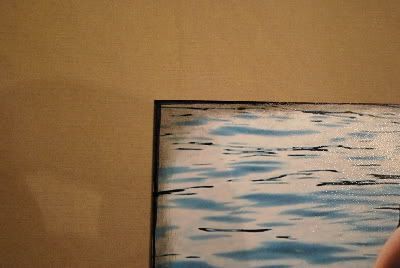
And then when you've finished you've got a custom made vignette in about 2 minutes or faster!
(much better and faster for me than any editing system or site!)
Final photo:
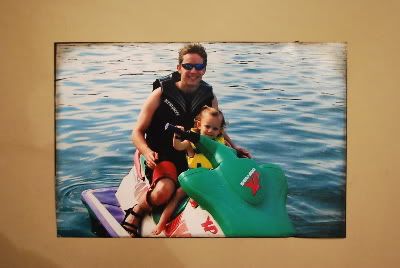
See? Fast, simple, and just enough oomph to make a difference.
Still playing/coaching volleyball, so I've gotta run for now! Enjoy and have a good week!
5 comments:
This is one of those techniques that you can use EVERY single time you sit down to scrap. LOVE IT!!! Love your layering on these, Deanna! Awesome!!!
love it
great technique, i'm always wondering how to get that inking right...
Thanks for this GREAT technique!!
I LOVE your layouts, so happy and colorfull!
XXXJenneke
Great technique and FUN pages. TFS
Post a Comment